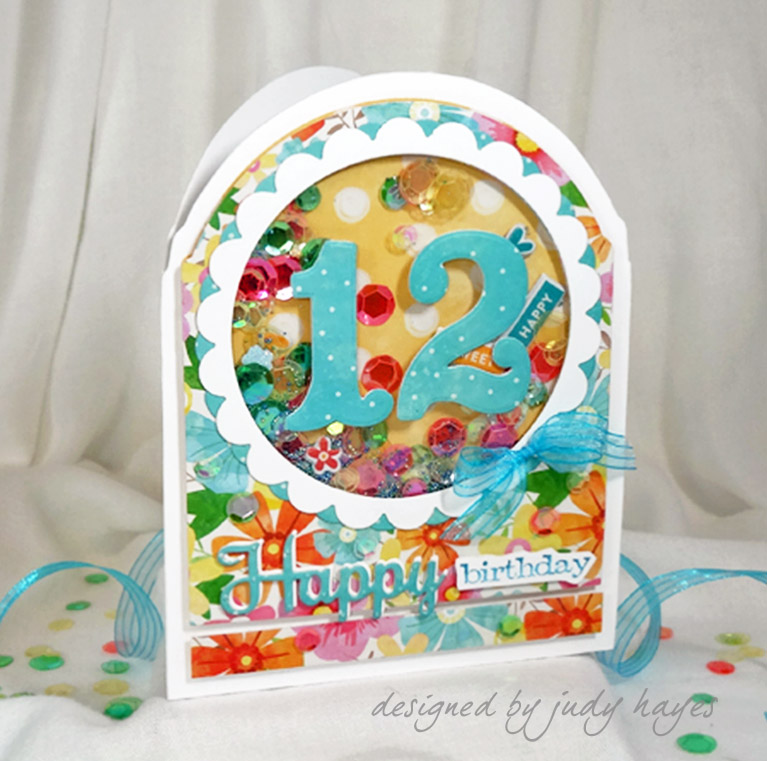
To recreate this card, cut one of Grand Dome 3D Card – Elegant 3D Vignettes with circle opening which will be top. Cut another one without circle opening which will show in back of shaker. Trim off tabs on edges.

Use E-Z Runner® Ultra Refillable Dispenser to apply adhesive around circle opening on back side. Place acetate over circle opening.


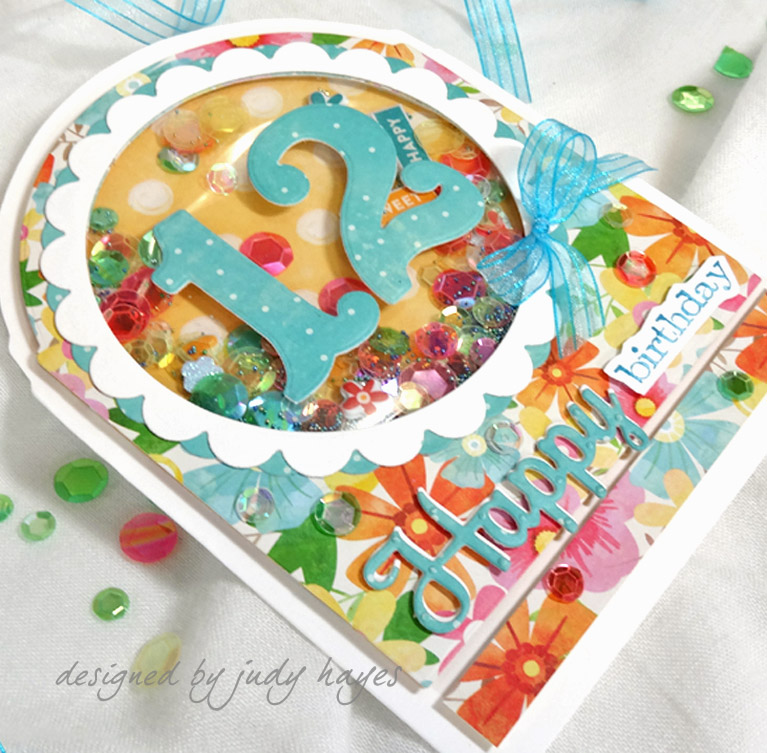
Cut 2 scalloped circles using circle from Grand Dome 3D Card – Elegant 3D Vignettes and Scalloped Circles LG.

Use E-Z Dots® Permanent Refillable Dispenser to apply adhesive to back of white circle. Fasten over aqua circle. Fasten both to front of shaken.

Fasten aqua paper to one side of 3D Creative Sheets, Trim it around paper. Cut numbers with Filigree Numbers – Elegant 3D Vignettes. The 3D Creative Sheet backing will give numbers dimension.


Form 4⅞ x 6½ʺ card from white cardstock. On scrap of 4⅞ʺ wide cardstock, trace around curved edge of Grand Dome 3D Card – Elegant 3D Vignettes outer die.

Cut slightly away from pencil line. Use this as template to trace onto card front.

Cut along pencil line, cutting line off.
Fasten shaker to card front using E-Z Dots® Permanent Refillable Dispenser adhesive.
Cut ½ʺ wide strip of patterned paper same width as shaker. Apply Crafty Foam Tape White to back. Fasten across bottom of card below shaker assembly.
Fasten 3D Creative Sheets to aqua paper. Cut "happy" from it using die from Oh Happy Day – Elegant 3D Vignettes.


Fasten white "happy" behind aqua one slightly offset. Fasten to card by simply peeling backing and pressing in place.
Stamp "birthday" with aqua ink on white cardstock. Trim around it. Fasten to card with Thin 3D Foam Squares White Mix. Add a few random sequins with Adhesive Dots Micro.
Tie bow. Fasten to card with Adhesive Dots Micro
The only thing left is to give it to someone special!
I hope you've enjoyed this fun Birthday Number Shaker Card! Thanks for visiting!
Happy Crafting!
judy hayes
Jillibean Bowl
of Dreams Paper Collection
Tim Holtz
Simple Sayings Stamp
White Cardstock
Acetate
Ribbon
4 comments:
Oh Judy, this is so sweet and simply charming!! I can totally see this going to a very excited teenager!! So cute that it is a shaker card!!
Your card done in these bright colors give Becca's dies a TOTALLY DIFFERENT LOOK, Judy! I think your card came out AMAZING!!! Bright & cheery, PERFECT for a festive celebration!!! I DO LOVE shaker cards!!! SUPER JOB, JUDY!!! ;)
Love this happy card. Beautiful colors. Thank you for the tutorial.
Hi Judy!
Love the bright cheerfulness of the card and the wonderful design! I've got the dome die, but I need to get the numbers still. When I do, I'll be using your tutorial to make a card like this. So creative! Thanks for sharing.
Post a Comment